Today I'm going to share with you the DIY glitter crown I made for Nora's birthday. I have seen crowns like this all over Etsy and think they are adorable. Rather than pay $20 for one of those, I decided to make one myself with supplies I had on hand.
Supplies:
1 piece of 8.5" x 11" white cardstock
acrylic ruler
Krylon crystal clear sealer
spray glue
tacky glue
gold acrylic paint (I used Martha Stewart paint)
gold glitter
gold elastic
reinforcement labels (found in the office supply section)
1/4" hole punch
pencil
sponge brush
scissors
1. Mark reference dots on your cardstock. Start 2 inches from the bottom of the paper and mark 1 inch increments along the width of the paper. 1 inch above those dots, mark a second set of dots 2 inches apart.
2. Connect your dots to create an even zig zag pattern.
3. Your pattern should look like this. Keep the extra paper on the end of the pattern, as we will use this to glue our crown together.
4. Cut your pattern out.
5. Paint a thin layer of gold acrylic paint on both sides of your cardstock pattern. This does not need to be perfect, as we will be covering it with glitter.
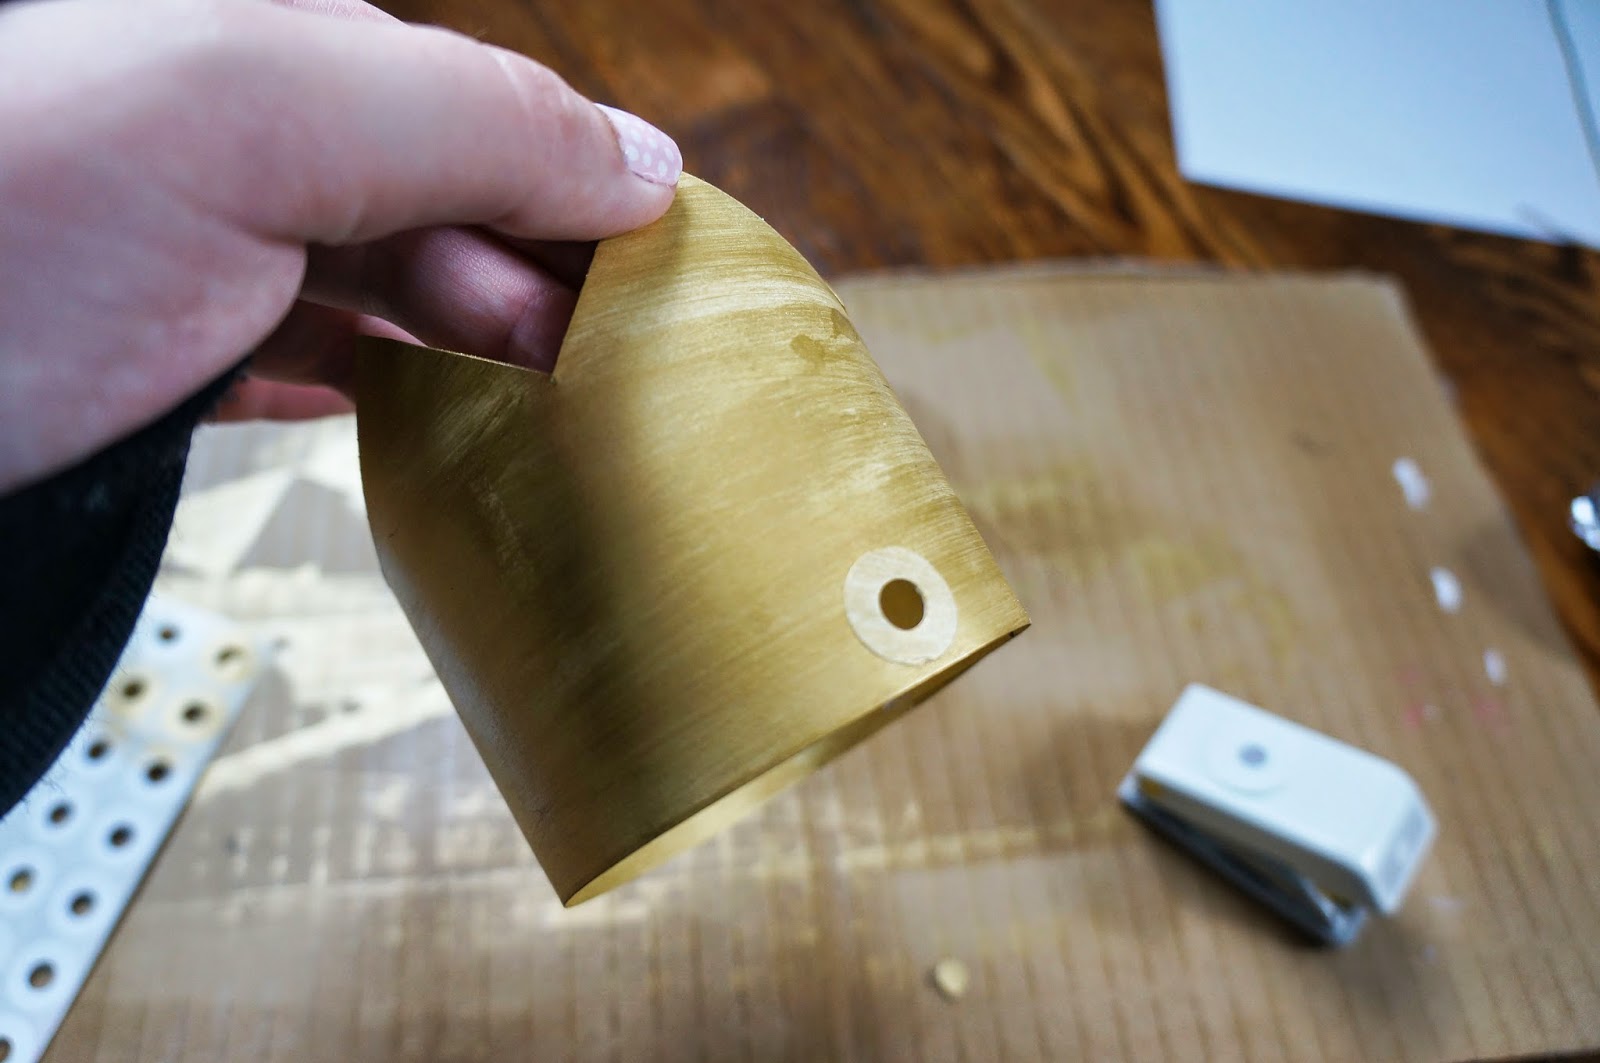
6. Paint a thin layer of gold acrylic paint on 4 of the reinforcement labels.
7. Spread a little of your tacky glue on the flap of your pattern. Try to be neater than I was.
8. Connect the ends of your crown and hold until glue sets.
8. Punch 2 holes on opposite sides of the crown.
9. Place your painted reinforcement labels around the punched holes. You will want one on the outside and inside of each hole. This will not be noticeable ans will help to make the crown stronger and less likely to rip if an excited baby tries to pull it off their head.
10. Take your crown, spray glue, glitter and clear sealer outside or into a well ventilated area. Spray your crown with glue and sprinkle with glitter until fully covered. If you do not completely cover the crown it is ok, that's why we painted it gold. You won't be able to tell once it is completed. After your glue drys, spray 1 to 2 coats of clear sealer over it to prevent the glitter from falling off. Let the crown dry completely before continuing.
11. Here is what your crown will look like. So sparkly!
12. String your elastic through the two holes and cut to desired length, then tie a knot to finish. I pulled my knot through the center of the crown so it wouldn't be seen.
13. And here you have the finished product! Isn't it cute?
14. Nora really liked it. Stay tuned for more birthday pictures with her in this crown!


so cute, loved this post :)
ReplyDeleteThanks! I loved making it :)
Delete